Custom Search

Monday 29 November 2010

Hobo Stove

Decided on making a hobo stove. This is a pretty common design and means of making one. The plus to the hobo stove is that it allows to you to cook and boil water in areas where you can not make a campfire, and it is far lighter and more portable than any gas stove.


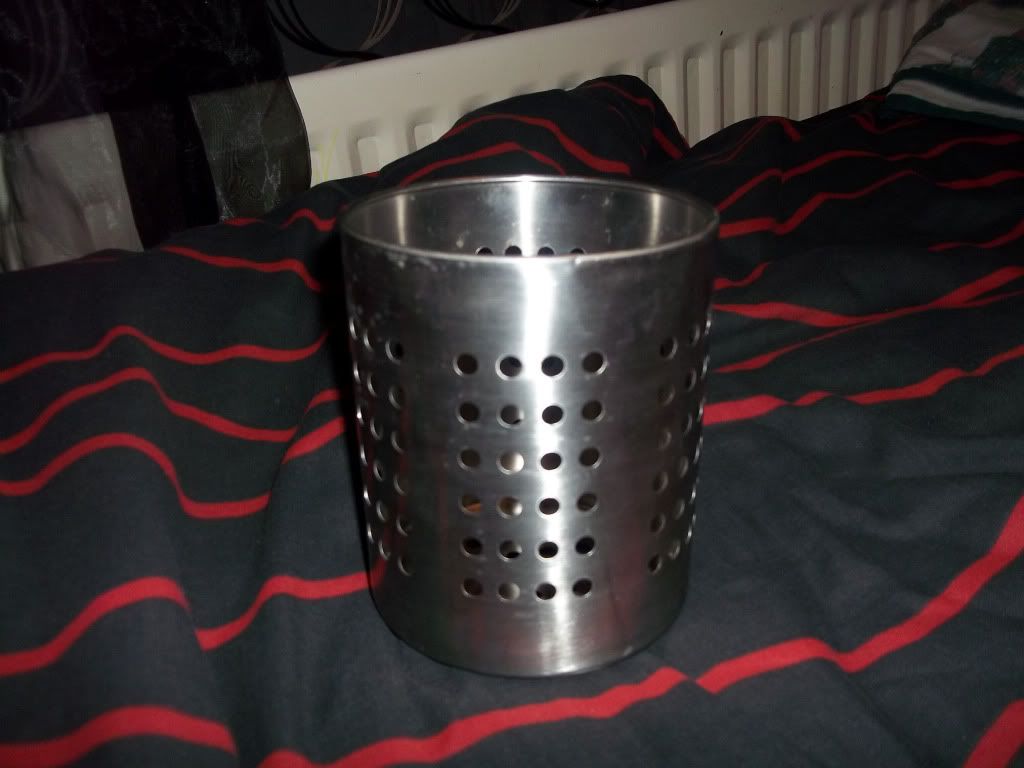
First you will need either a utensil drainer (from ikea or pound shops) like shown above. Or any stainless steel cylinder container just make sure you drill air holes around the side and on the bottom so the fire inside can breath.


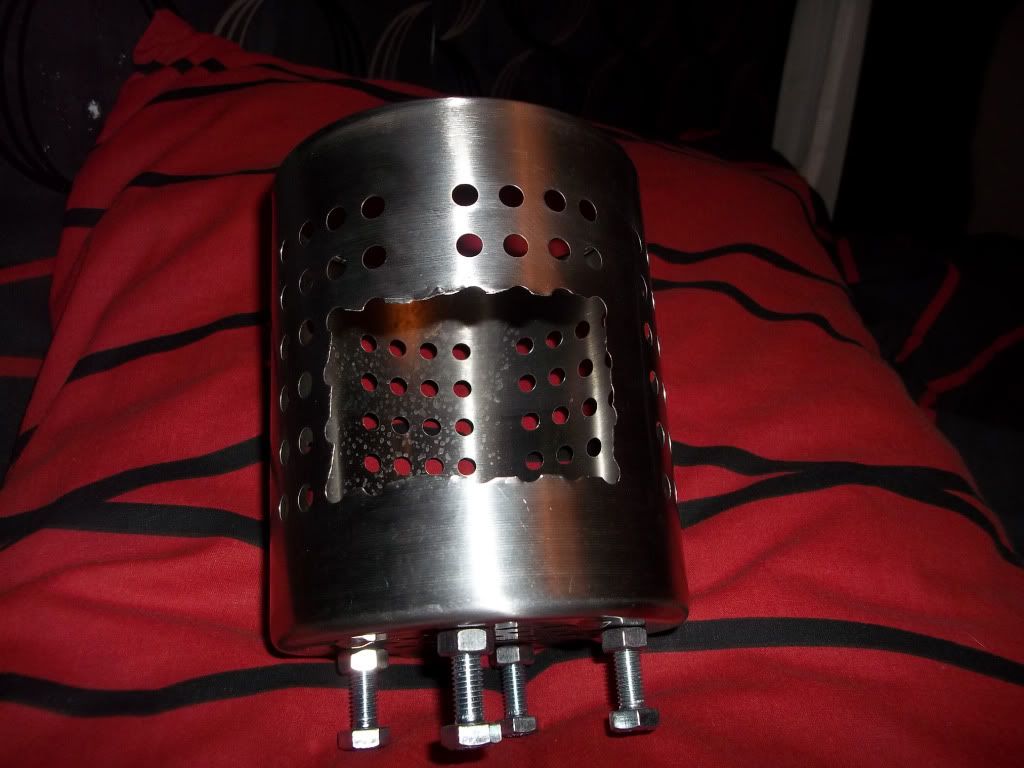
Next you need to cut a hole to allow you to fuel the flame/embers iniside.


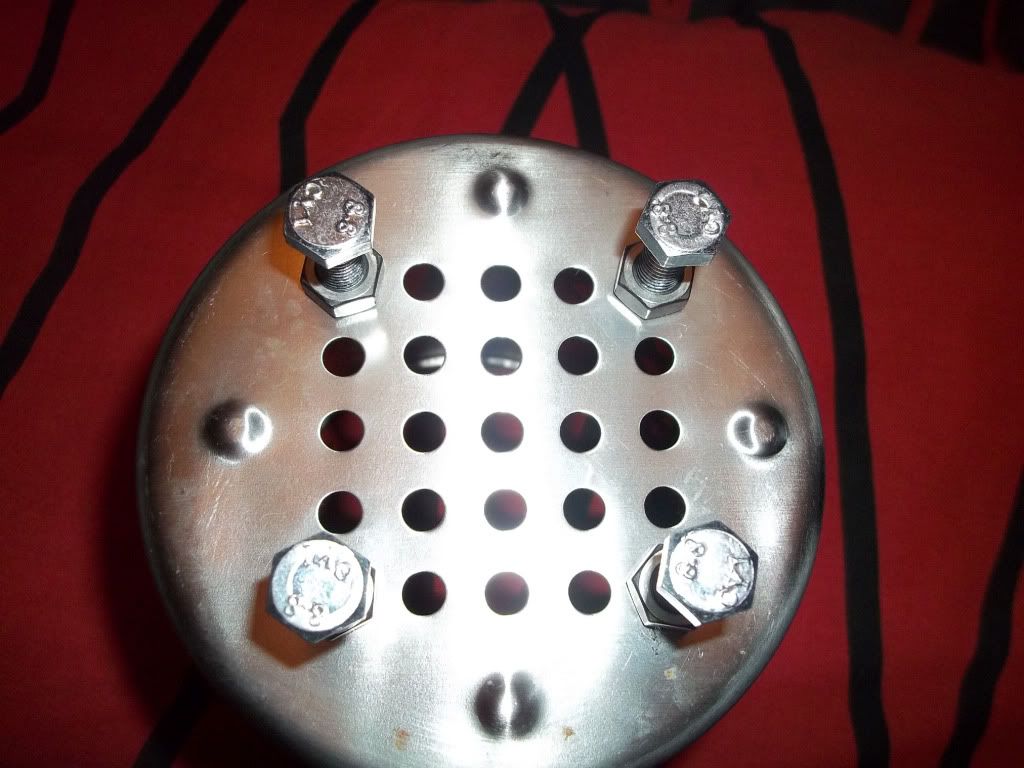
Next either drill four holes or use 4 that you have already drilled or 4 pre drilled holes from the drainer, screw four large flat headed bolts into the bottom to act as legs.


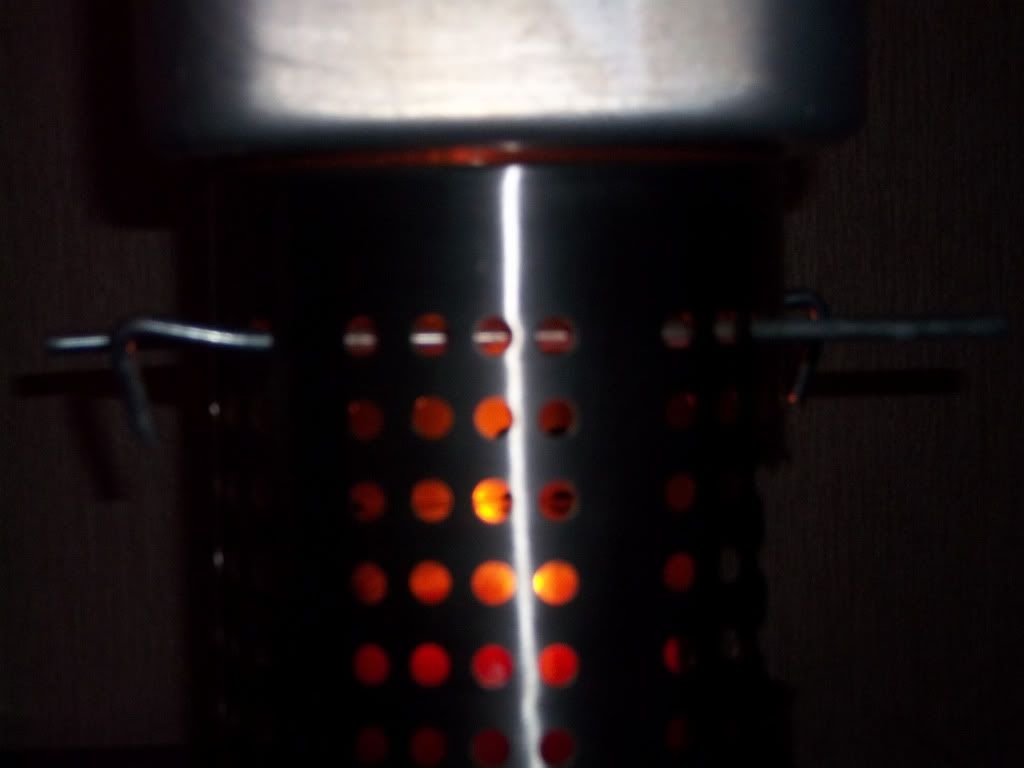
Now agian you need to either use some pre drilled holes or drill 4 more and slide 2 tent pegs in, this will give you billy can something to sit on while the flame cooks/boils what you need.


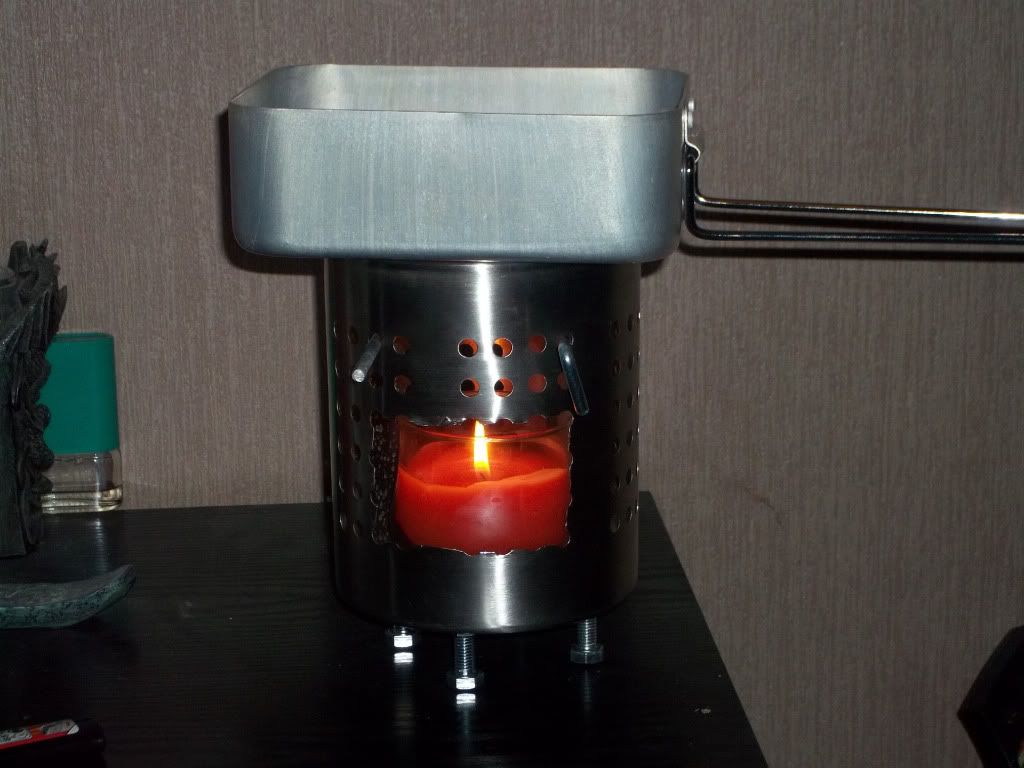
There you have a finished hobo stove simple. I haven't got a chance to get it out and try it out hence the festive candle in this picture. I would also suggest some kind of wind breaker to wrap around the outside that can be rolled up and stored inside the stove.

Monday 8 November 2010

Paracord Survival Bracelet

Made my first one today and i'm pretty happy with it. This is an excellent way to carry quantities of paracord. So i'm going to show you how to make one it really is so simple.


First off measure your wrist or whatever length you want it and add an extra 3 or 4 inches then cut that amount of paracord and tie in a knot at the top as show. Then you need to cut the amount of paracord you need, i used the thinking of a foot for every inch you want to cover.


Rig yourself something that can keep the paracord taught. Here i am using a coat hanger between my legs and a ring from a key ring attached to the cupboard handle.


Now take your paracord length and place it behind your base paracord evenly. Form an S shape with one length then thread the other length down through the front loop and up through the back loop. Then make sure both lengths are even before continuing if not rearrange them and pull tight and leave about a half an inch free at the top to loop your knot into when its finished.


Repeat the process only this time form the S with the other length and keep repeating the process alternating the S each time.


Every time you do one pull tight and push up to bring them all in close together.


Finish it off by leaving a small bit at the knot free and cutting and singing the remaining paracord. And there you have it your finished survival bracelet. Obviously this isn't the greatest or neatest one but ill be making a few more and they will get better looking also using two different colours for the base part and the main part would make it look better.

Saturday 6 November 2010

Dundrum Bay

Took some of these pictures while walking along a local bay. The plan is to try and get down in a couple of weeks or so when the tide's out and do a bit of shoreline forraging.


Thursday 4 November 2010

Ray Mears Belfast 2010

Just a quick wee review on the Ray Mears show that was held in the Ulster Hall on Monday night. It was an extrememly interesting night in which we learned a little be more about the man and also some of the tribes and indigenous peoples. He was asked questions by a wildlife film make from the province called Brian Black, he asked some very good questions as did the entire hall (with the obvious "what do you think of Bear Grylls"). All in all it was an very good night and he did a book signing afterwards which was pretty awesome.

Monday 1 November 2010

New Banner

A big thank you to a good friend of mine for hooking me up to with my excellent banner/sig. So yeah a big thankyou to ZfG Unique. Catch her, myself and a whole load of other cool people at http://www.zimmerframegamers.com/